Motivation
Debian just released its new stable release, code named Bullseye. On the other side, I had to setup a new virtual server just in the middle of August and surprisingly the hosting company I wanted to create it into already had added the new image just one week after the official release. Amazing !!
Its quite straighforward to setup a server for one website or just a few of them without a panel, but this server will contain multiple dev and test sites with different PHP versions so my original plan was to install ISPConfig on it.
There’s no documentation on installing ISPConfig 3 on Debian Bullseye. August is a good time for unstressed tests so I just decided to give it a try and the result was fine for my requirements.
I will describe here some notes about the process.
ISPConfig 3 instructions
In the Documentation front page of the ISPConfig live some great install instructions on each available Linux distribution so I went directly there and followed the guide named “The Perfect Server - Debian 10 (Buster) with Apache, BIND, Dovecot, PureFTPD and ISPConfig 3.1” on my new Debian 11 (Bullseye) brand new box.
Actually all installation process was fine except the following changes:
System clock
Debian already has systemd-timesyncd. Following command gave me some fine results so I didn’t mess with installing ntp although its just a one-liner which will probably work just fine.
timedatectl timesync-status
Mail and database servers
All process for the installation of mail server in step 8 of the guide works just fine, replacing getmail4 package by getmail6 in apt-get line.
Web Server and PHP
Bullseye comes with PHP 7.4 instead of 7.3 so small changes are required for it in the apt-get line at step 10:
- Replace all php7.3 by php7.4 in installed package names
- php7.4-recode does not exist so removed it from the list
- php-php-gettext instead of php-gettext
- Personal preference: Remove apache2-doc from the list of installed packages, otherwise Apache docs will be available.
So the apt-get install line should be like this:
apt-get -y install apache2 apache2-utils libapache2-mod-php php7.4 php7.4-common php7.4-gd php7.4-mysql php7.4-imap php7.4-cli php7.4-cgi libapache2-mod-fcgid apache2-suexec-pristine php-pear mcrypt imagemagick libruby libapache2-mod-python php7.4-curl php7.4-intl php7.4-pspell php7.4-sqlite3 php7.4-tidy php7.4-xmlrpc php7.4-xsl memcached php-memcache php-imagick php-gettext php7.4-zip php7.4-mbstring memcached libapache2-mod-passenger php7.4-soap php7.4-fpm php7.4-opcache php-apcu libapache2-reload-perl
PureFTPd
PureFTPd instructions worked just fine but I got some errors when setting quotas so at the moment I disabled them. No changes in /etc/fstab .
Commands with errors where
quotacheck -avugm
quotaon -avug
GoAccesss
GoAccess is in the repos so you can choose to download from it’s vendor as suggested in Perfect Server Guide or install it via apt-get:
aptitude install phpmyadmin
Anyway, you will get some pretty web statistics without any additional configuration with this tool.
If you didn’t install it in the first time you can do it later. Just ensure accessing the Statistics tab in ISP Config for the desired sites and set the admin password.
If you are in the anxious side you can trigger a stats calculation with
php /usr/local/ispconfig/server/cron_debug.php --cronjob=150-goaccess.inc.php
PHPMyAdmin
phpMyAdmin is again in Debian repositories after its disappearance in Buster so better use the official repository version instead of all installation recommended in the guide.
The following simple command will do most of the installation and configuration for us:
aptitude install phpmyadmin
After issuing this command and answering the questions when we open following URL in a browser we get a login form for PHPMyAdmin:
http://my-server-ip-or-hostname/phpmyadmin
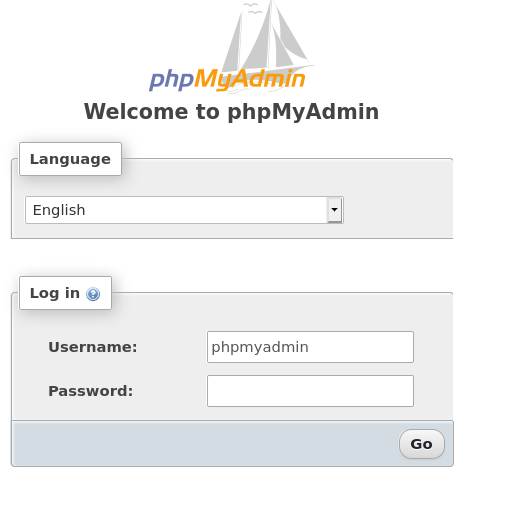
If you set a password for MariaDB root user when secured it you will directly be able to log in and administer your databases here.
I didn’t set it because I prefer using specific phpmyadmin user to access with PHPMyAdmin. The only problem is this user does not have enough permissions to create databases and other necessary stuff so we still need to add full privileges to phpmyadmin user:
GRANT ALL PRIVILEGES ON *.* TO 'phpmyadmin'@'localhost' WITH GRANT OPTION;
FLUSH PRIVILEGES;
You can test everything went fine logging in via phpmyadmin with phpmyadmin user. Click on Databases. You should have the possibility to Create database.
If button is still not there, try restart mysql service and even remove this site cookies.
Install ISPConfig
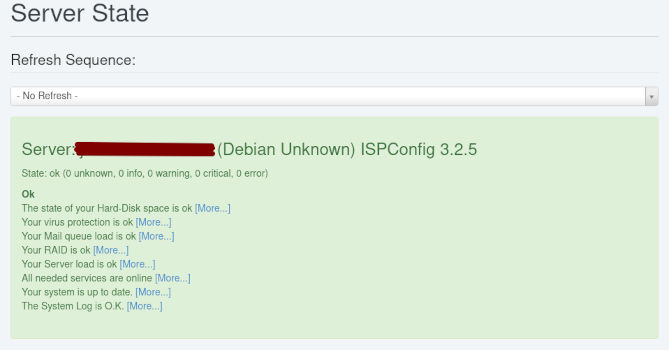
Not a bad place to do a snapshot of your server if hosting company allows it :) Actually this worked just fine so ISPConfig 3 is working in my server without observable issues:
ISPConfig post-configuration
The following settings need to be changed for the panel to work properly:
FastCGI: Browse to System -> Server Config -> FastCGI and change php.ini path: /etc/php/7.4/cgi/.
PHP-FPM: Browse to System -> Server Config -> Web -> PHP Settings and change all 7.3 references to 7.4.
Comment on this post